Using The Numbers to Correct Skin Tones
Getting to know your numbers/values is a great way to check that your skin tones are on track. In Photoshop the most efficient way is to check your CMY values (Cyan, Magenta & Yellow). When checking your values it is important to check neutral areas such as the forehead – avoid naturally rosy areas like the cheeks. The skin on a newborn’s face can be a bit troublesome. If the newborn has a lot of baby acne or rashes on the face then a good place to check is the thigh or back.
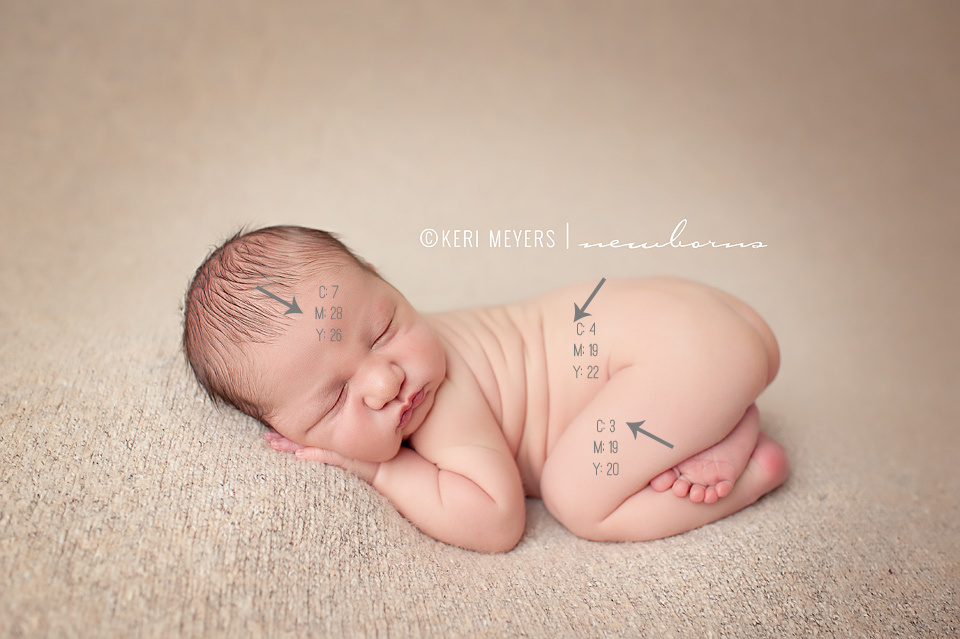
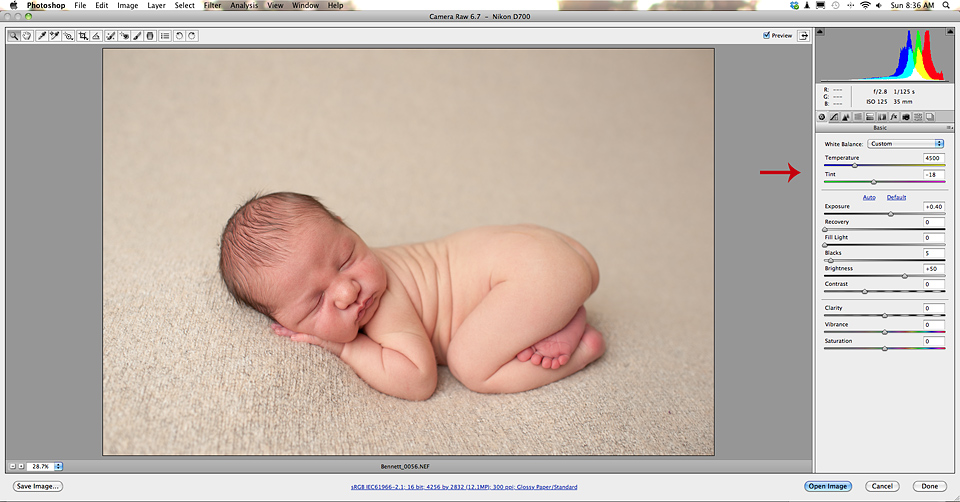
The rule of thumb is Y>M>C. More specifically, your C value should be 1/5 to 1/3 of your M value and your Y value should be slightly higher than your M value. With newborn skin you will often notice that magenta tends to run high. There are several ways to correct this little problem. I suggest opening the image in ACR or LR and adjusting your blue/yellow sliders and your green/magenta sliders. Then reopen the image in Photoshop to recheck the numbers in the same area.
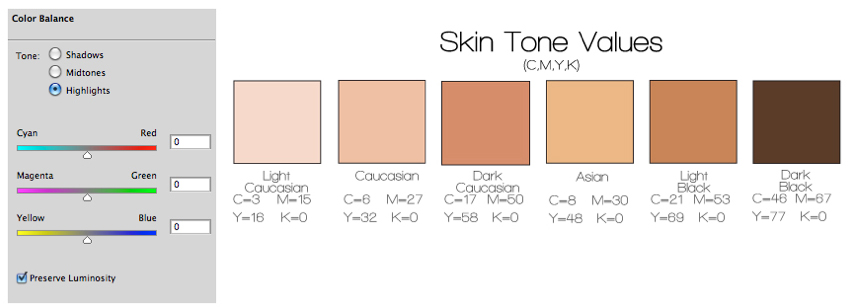
If the numbers are only slightly off you can adjust in Photoshop. There are several different routes to do the same thing – I like to use a Color Balance layer to adjust. First, I use the quick select tool to isolate the baby’s skin. Then I create a Color Balance layer and select the “highlights”. Move your sliders while watching your CMY values in the info palette to get the best ratio.
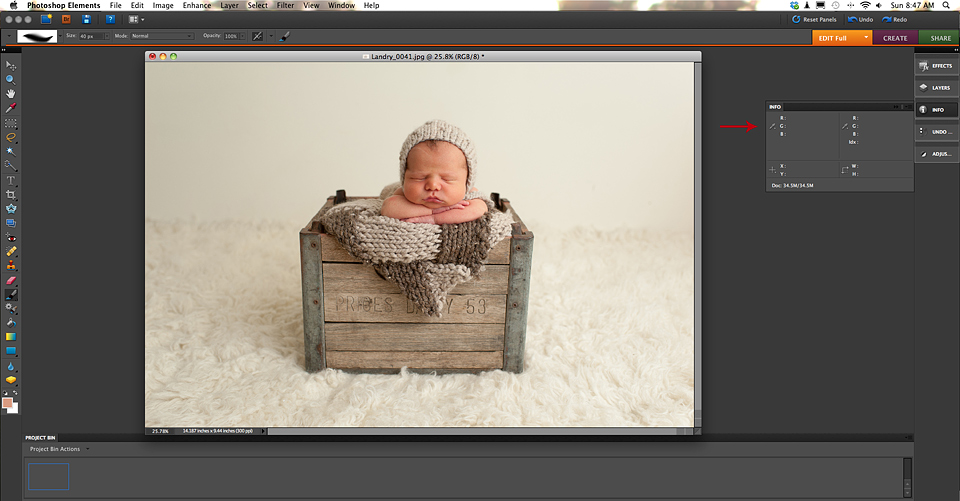
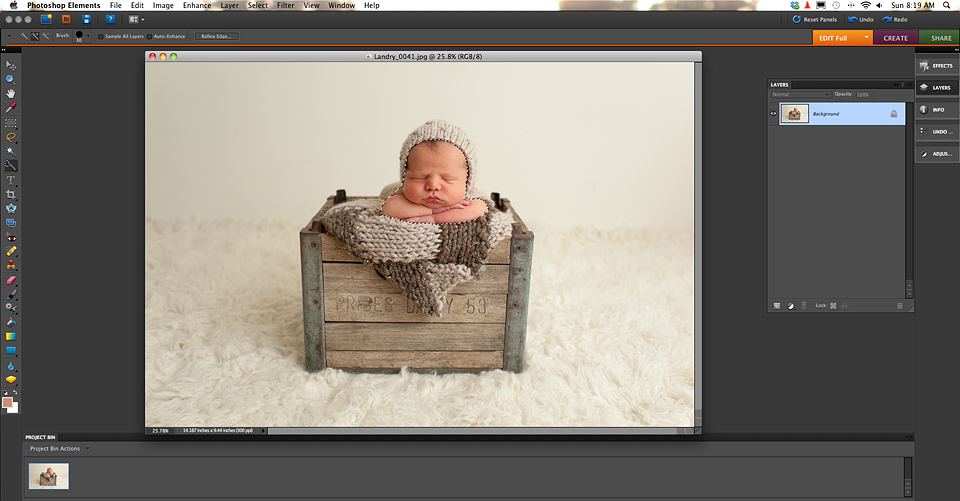
If you work with Photoshop Elements, you do not have the CMY values to check, as they are not available in Elements. Elements users will have to rely on the RGB values to check skin tones. The rule is still the same, you will want to check neutral areas and avoid areas that are naturally rosy or covered in acne/rash.
The rule of thumb is R>G>B. The red value will always be higher than the green value and the green value higher than the blue value. More specifically, red values will usually hover in the mid-100s in the darker areas and the mid-200s in the brighter areas (the higher the numbers the brighter the area). The green and blue channels will usually roam from just under 100 to just over 200. The green value should be around 20-30 points higher than the blue value.
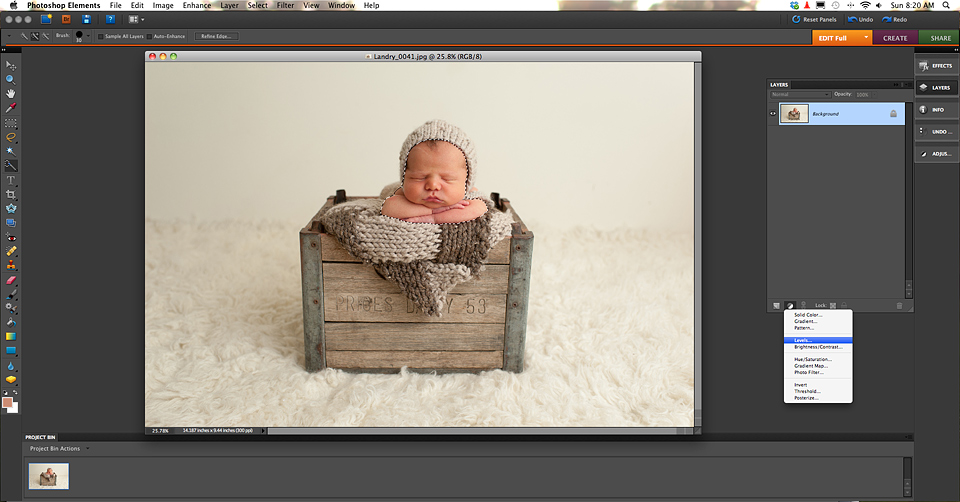
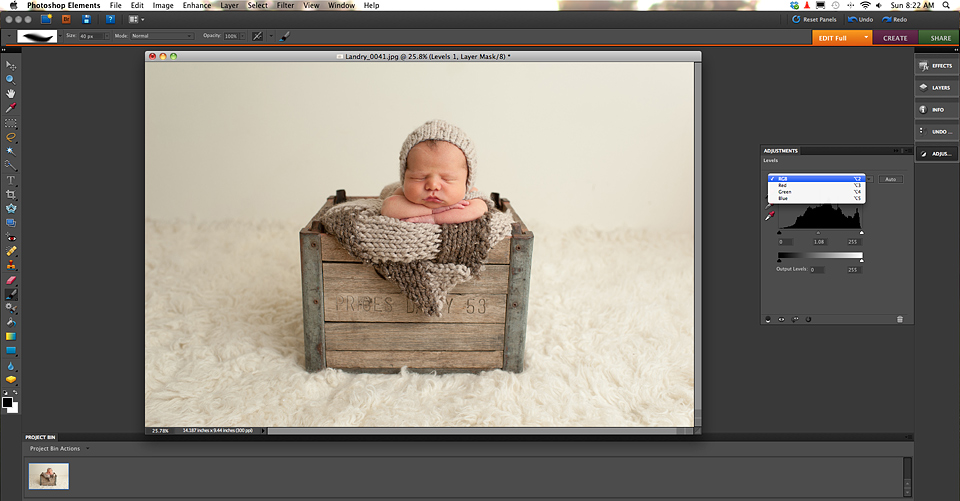
To make corrections in Elements use the quick select tool to isolate the area of the skin you want to work on. Then create a new levels layer. I find that it helps to up the midtones on the RGB layer first. Then move on to tweak the individual layers. For example, in the photo below I increased the midtones on the RGB layer, then increased the midtones slightly on the blue layer and then increased the midtones on the green layer just slightly.
There you have it! These are just a couple different steps to use to correct skin tones. As noted, the possibilities are endless in Photoshop and there are many different roads you can take to achieve the same results. I hope these help give you a better understanding of using the numbers to read and correct skin tones.